Hi, Ivy here from @ivypinkmade. Tis the season for Merry Mail!
I LOVE collecting the ones we receive each year.
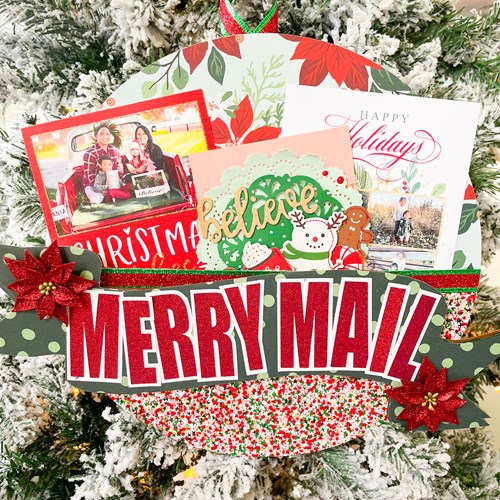
Today I’m going to share a project with you on how to make an easy display to show off those cute Merry mails. Let’s get started.
Supplies:
- Wooden Round Blank
- Wood Banner Blank
- Scrapbooking Paper
- Faux Leather
- Ribbon
- Xyron Creative Station
- Xyron Mini Glue Gun
I am using an 11” wood round, cover the round about ¾ of the way.
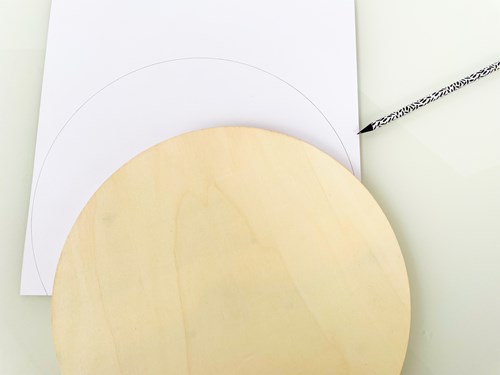
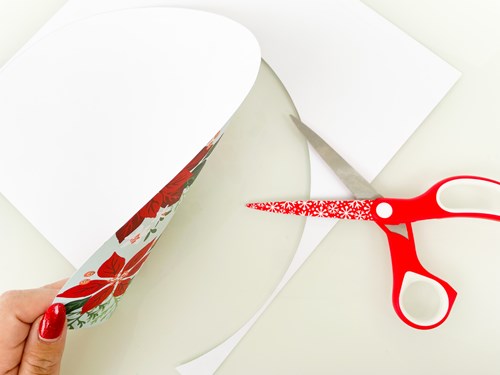
Trace the circle on the scrapbooking paper and hand cut.
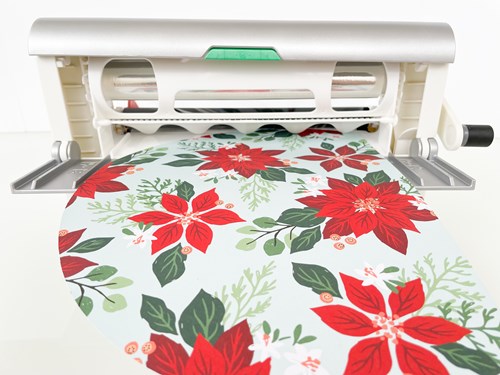
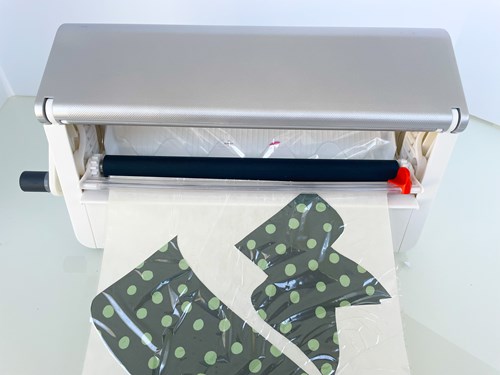
Run the cut sheet on the Xyron Creative Station.
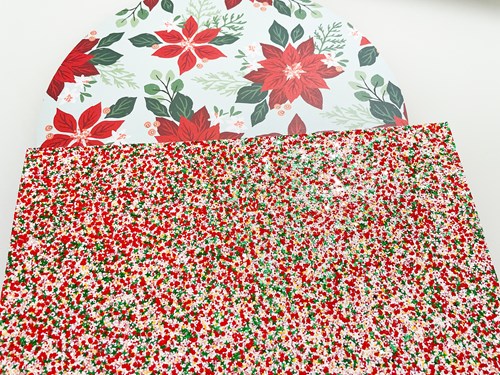
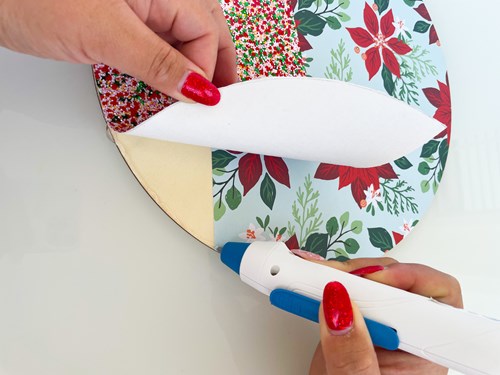
Adhere the paper on the wood round. Next use faux leather and cover the wood round about ¼ of the way. Leave a little overlap on the scrapbooking paper.
Use the Xyron Mini Glue gun to adhere the faux leather on the wood. Only adhere the bottom edge. The top opening will be the pocket for the display. The base for the pocket is finished now it’s time to make it cute.
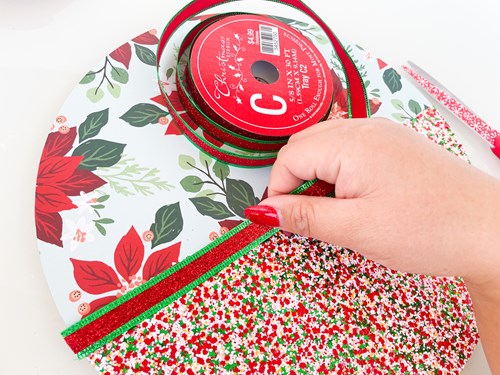
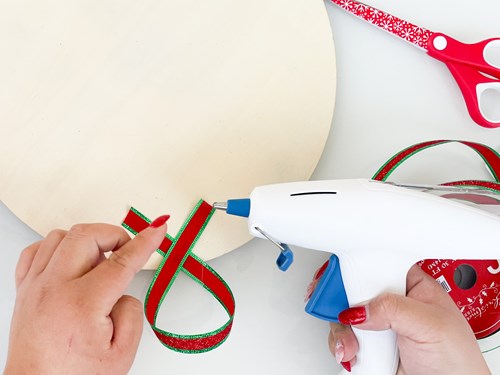
Adhere a ribbon trim on the edge of the faux leather using the mini glue gun to give the edge a finished look.
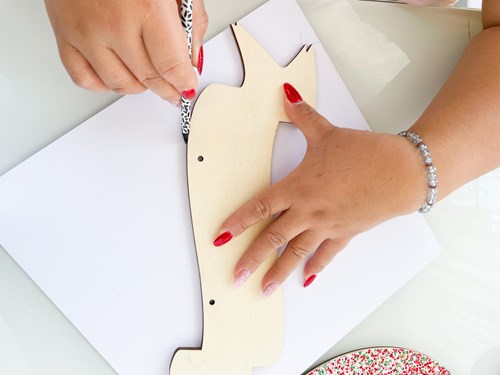
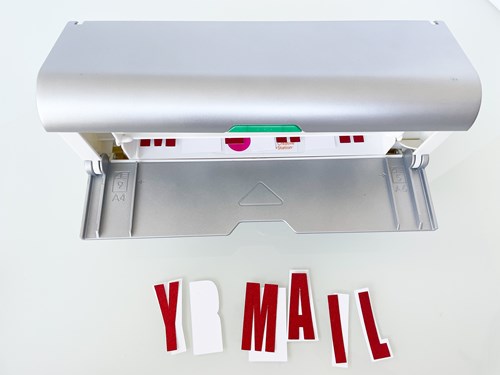
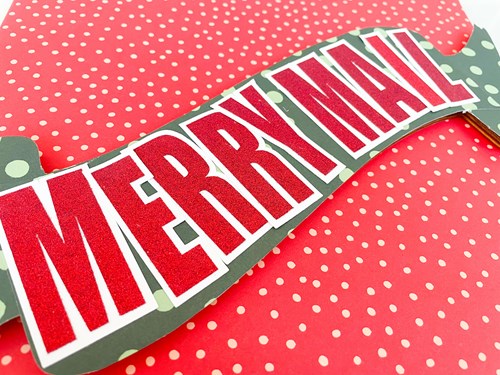
To cover the wooden banner, cut Merry Mail on an electronic cutting machine and trace the banner on patterned paper.
Run the pieces through the Creative Station.
Adhere everything on the wood blank.
I’m using these poinsettia flowers to embellish the banner.
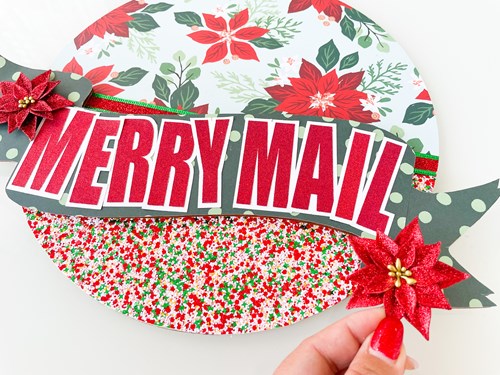
Last step is to glue a piece of ribbon on the back of wood round using the mini glue gun.
This will make it easy to hang the display.
I hope you enjoyed this project!
Happy Holidays.
Ivy @ivypinkmade